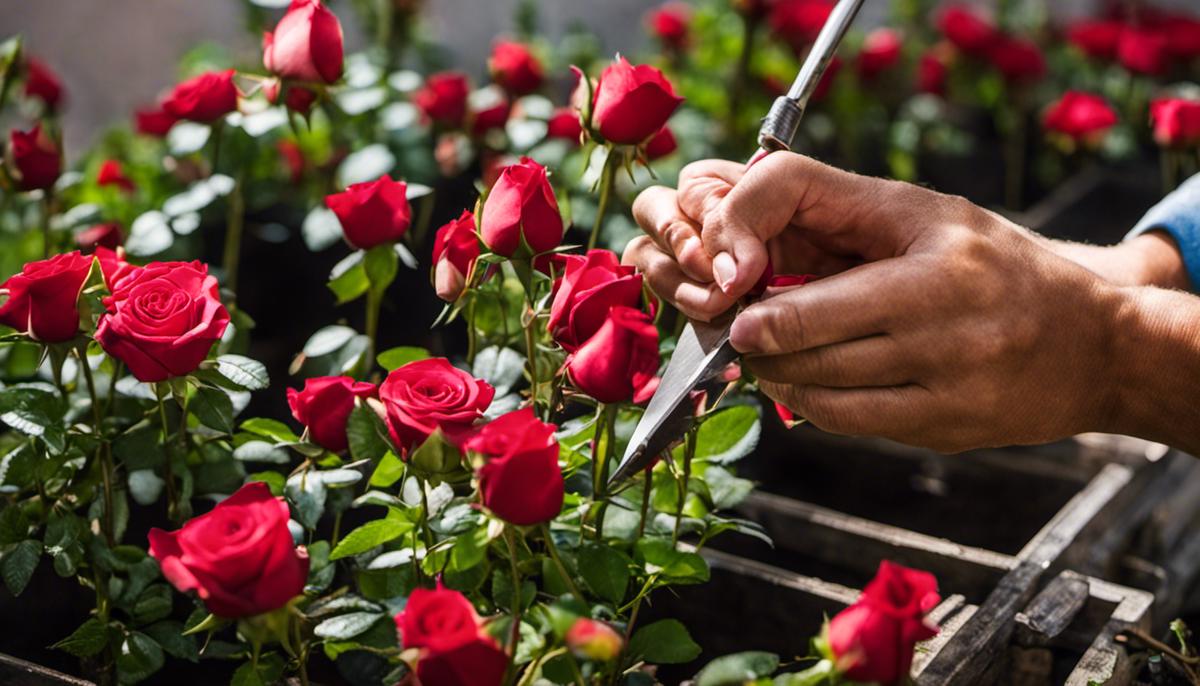
Simple Steps to Grow Rose Cuttings in Potatoes

With the allure of their vibrant hues and enchanting fragrances, roses have captivated gardeners and flower enthusiasts for centuries. However, cultivating these majestic blooms isn’t merely about planting a seed and hoping for the best. Rather, it entails a meticulous process of propagation – a journey that begins with preparing high-quality rose cuttings. Our exploration of this gardening art form will take us down the lesser-trodden path of using potatoes, a simple yet effective medium for supporting the growth of these cuttings. The journey doesn’t stop at planting; greater emphasis will be placed on the care required post-planting involving watering, fertilizing, and pest management to help your rose plants thrive.
Preparing the Rose Cuttings
Heading: THE ROSE PROFESSIONALS’ GUIDE TO PREPARING CUTTINGS FOR PROPAGATION
Sub-Heading: Your pathway to a rose garden of vivid colors and heavenly fragrances
Getting entangled in the mesmerizing world of rose cultivation is a vibrant journey of discovery, fascination, and satisfaction. As admirers of this magnificent flower, we envelop ourselves in an endless learning curve, trying to decode the best practices. A crucial chapter in this handbook of rose cultivation is the science behind preparing rose cuttings for propagation.
Each step unfolds like a blooming rose, inviting you to immerse yourself in its fabulous world. The method is straightforward, achievable, yet peppered with nuances and subtleties that make it a challenging and rewarding process. Here, we explore the optimal way of preparing rose cuttings for propagation.
Selecting your Rose for Cuttings
The choice of roses to propagate is essential; pruning from disease-free, flourishing plants is a golden rule. The perfect time to take cuttings is in late summer after the rose has bloomed and the petals are falling off. Cut long, strong, straight stems with at least five leaflets.
Trimming the Stems
Each stem needs to be about 6-9 inches in length. Cleanliness is paramount; always use a sharp, sterile blade. Cut both ends of the stem at an angle, remembering the bottom cut needs to be just below a leaf node, from which roots will grow. The top cut should be one-quarter of an inch above a bud.
Leaf Removal and Wounding
Remove the majority of the leaves on the stem, leaving only the top set intact to conserve moisture. Wounding the lower end of the stem by making a slight cut will encourage root formation.
Treating with Rooting Hormone
Apply a rooting hormone at the wounded end of the stem. Different rooting hormones are available in the market, and though they aren’t always necessary, they can enhance the success rate.
Planting the Cutting
A well-draining potting mix works best for planting your rose cutting. A mix of half perlite and half peat is a good choice. Plant the cutting about 2 inches deep into the soil and lightly firm it.
Providing the Ideal Environment
Humidity is key to your rose cutting survival. A plastic bag, inverted over the cutting, or a soda bottle with cap removed will make for a makeshift mini-greenhouse. Do keep them in partial sunlight, and watch them carefully for signs of growth.
Nurturing
Consistency is key, keep the soil lightly moist but avoid overwatering or letting the cutting dry out. Rose cuttings can take anywhere from four weeks to three months to start rooting, so patience is indeed an essential part of the entire exercise.
In the exciting journey to a garden resplendent with diverse, fragrant roses, preparing rose cuttings for propagation is a thrilling chapter. Embrace it fully, for each new blossom is a testament to your love, care, and patience. Here’s to lovely blooms and the sweet, intoxicating aroma of success!

Using Potatoes for Propagation
The Marvel of Potatoes: An Unlikely Ally in the Flourishing of Rose Cuttings
The world of rose cultivation can be filled with trials and tribulations, yet also punctuated by profound triumphs. One such victory comes when the rose enthusiast discovers the power of the modest potato in the propagation of rose cuttings. The humble potato, an everyday staple, emerges as an unexpected hero in the gardening saga, serving as a nourishing incubator for rose cuttings, and woefully underrated in its role of greenthumb magic.
Seemingly inconsequential, the potato aids in maintaining right moisture levels while offering vital nutrients to the cutting, all while combating potential diseases. This unassuming tuber is, in reality, a bouquet blooming secret weapon.
But just how can we leverage this root vegetable for burgeoning rose cuttings? A starchy Deus Ex Machina, in the form of a potato, comes into play right after you’ve trimmed your stems, treated them with rooting hormone, and before planting them in the soil.
The first order of action involves skewing your freshly treated rose cutting into a potato. Obtain a fresh, medium-sized russet or Yukon gold potato, ensuring it is firm and devoid of deformities or sprouts. Bore a hole with a clean drill bit or screwdriver approximately half-an-inch in diameter and two-inches deep – this quantity is contingent on the size of the cutting.
Next, you need to insert the rose cutting into the hole, akin to inserting a letter into an envelope. Ensure the cut end is snugly secured in the potato and not wiggling around.
Once your rose cutting is safely ensconced within its starchy protector, it’s time to plant this combination. Dig a hole in your garden, preferably where the soil drains well and the plant can receive 6-8 hours of sunlight. The depth of the hole should be such that the top third of the cutting juts out from the ground.
Upon planting the rose cutting-potato combo, water it thoroughly, ensuring the soil around it is moist but not swampy. An evenly moist environment is conducive for the cutting to develop roots.
From here on, you move onto the nurturing stage. Monitor the moisture levels in the soil, watering regularly but avoiding oversaturation. Wait patiently, don’t disturbance the cutting. In about 4-6 weeks, if you’ve gotten it all right, you’ll see fresh leaves indicating successful propagation.
To think that the simple potato could hold the key to flourishing roses! Just another testament to the endless discoveries and delightful surprises in the world of gardening, and a friendly reminder that nature works in beautifully mysterious and delightfully unexpected ways.

Maintaining Your Rose Plant
Summoning an army of green thumbs and rose enthusiasts, let’s delve deeper into our beloved hobby of growing rose plants from cuttings in a potato! A hobby that may seem peculiar at first, but the surprising results it offers cannot be disputed.
Grown roses from cuttings nestled in a potato require very specific care that, when properly administered, can yield a hearty plant with blooms that enchant any garden. So, how do we ensure that our planting efforts are worthwhile?
For anyone new to the potato propagating method, consistency in watering plays a significant role in fostering growth. It’s crucial not to overwater your rose cutting, as this can lead to rot. Equally, under-watering can dry out and kill the plant. A golden rule to follow is to keep the soil slightly moist at all times. A good soaking once or twice a week is sufficient, depending on the climate and weather conditions.
One other key component, particularly in the early stages of growth, is an understanding of natural light and how it affects the development of the plant. The planted cutting-potato system needs a moderate level of sunlight – direct sunlight can burn them, and lack of sunlight can hinder their growth. Choosing a location partially shaded by other plants or structures can ensure the appropriate amount of sunshine needed.
Maintaining a watchful eye on the growth process is essential, and noticing signs of disease early can save the plant. Yellowing leaves or black spots indicate possible issues, and if you observe them, removing those parts will prevent further infestation. It’s always a good idea to check the undersides of leaves regularly in the pursuit of early detection.
Additionally, roses are heavy feeders and need the right nutrients to bloom and grow. After the cutting has started showing signs of new growth, it’s time to introduce a gentle, slow-release fertilizer. This will give the plant a nutrient boost, helping it to grow stronger and produce a healthy set of flowers.
Last but not least, practicing patient anticipation is another dimension to this rewarding hobby. Growing a rose plant from a cutting in a potato does not happen overnight– perseverance is key here. The wait — from several weeks to few months — is worthwhile when the first buds begin to form on your green plant.
In conclusion, it’s the wisdom that comes from patience, persistence, and attention to finer details that lead to a successful propagation of rose plants from cuttings in a potato. When these steps are diligently followed, the bountiful roses that will adorn your garden speak volumes about the miracle of Mother Nature and the joy that this nurturing hobby brings to us.

Cultivating roses through the unusual yet highly effective method of potato propagation is both an art and science, a balance of technique and environment. Through careful selection and preparation of rose cuttings, strategic use of potatoes as natural germination aids, and diligent care and maintenance, we can not only grow roses, but nurture them to thrive in their full, radiant glory. Remember, gardening is a labor of love, requiring patience and nurturing. With steadfast commitment and unyielding faith, your rose cuttings will grow into vibrant, flourishing plants, rewarding you with fragrant, colourful proof of your diligent efforts.


