How to Blossom: Growing a Rose from Seed

Embarking on the journey of growing a magnificent rose from a humble seed is as rewarding as it is enlightening. From creating life from a dormant seed to observing the beauty of the rose take shape over time, one can gain a sense of fulfillment and respect for the intricacies of nature’s design. This journey starts with the understanding of how to prepare a rose seed for planting, a process that includes stratification. This chilling method simulates winter conditions, a vital step in the successful germination of the rose seed. Next, we delve into the core of the planting process, taking into consideration various elements like soil type, moisture content, planting depth, and the indispensable role of sunlight. We conclude this enlightening journey by mastering the art of seedling care and understanding the best practices for transplantation, such as watering techniques, light requirements, and knowing the perfect time to move your seedling to a bigger pot or to its new home in the garden.
Understanding Rose Seed Preparation
Getting it Right: The Art of Preparing Rose Seeds for Planting
Boasting a stunning array of colors, shapes, and fragrances, roses are a cherished part of any garden. Undeniably, there’s a unique satisfaction in growing these beauties from seed. If you’re ready to brave the challenge, preparing rose seeds for planting will set the stage for success. This essential first step ensures these delicate plant embryos are primed to germinate and grow into the flourishing shrubs we all know and love. So, let’s dive in!
First, it’s important to remember that rose seeds need to go through a process known as stratification. Basically, it’s a simulation of the winter season which triggers the seed’s natural germination process. To begin, collect rose hips (the fruit of roses) in late autumn. They should be fully red and slightly soft to the touch. Remove the seeds and rinse them under cool running water to eliminate any remaining pulp.
Once the seeds are clean, it’s time to mimic winter. Place a layer of moistened peat moss, vermiculite or sand at the bottom of a sealable bag, followed by the seeds, then cover it with another layer of the moistened medium. Seal the bag while leaving some air inside. Make sure it’s clearly labeled with the date and place it in the refrigerator, preferably at a temperature around 34-38°F (1-3°C). This chilling phase should last around 10-12 weeks, replicating the cold dormancy period roses experience in the wild.
Consistently monitor the seeds during the stratification period. Keep an eye on the moisture levels to prevent the seeds from drying out. However, avoid overly soggy conditions as it might encourage mold. If mold appears, it can be remedied by spraying a fungicide or replacing the medium.
Post-stratification, it’s time for a seedling test. The viable seeds—those ready to sprout—will sink when placed in water, while any duds will float. Discard the floaters, they are not likely to germinate.
Next, transfer the viable seeds to a seed tray filled with good quality, soilless mix, and cover with a thin layer of sand or vermiculite. Keep the mix moist but not waterlogged. Place the tray in a warm, light-filled area, ideally with a temperature around 70°F (21°C).
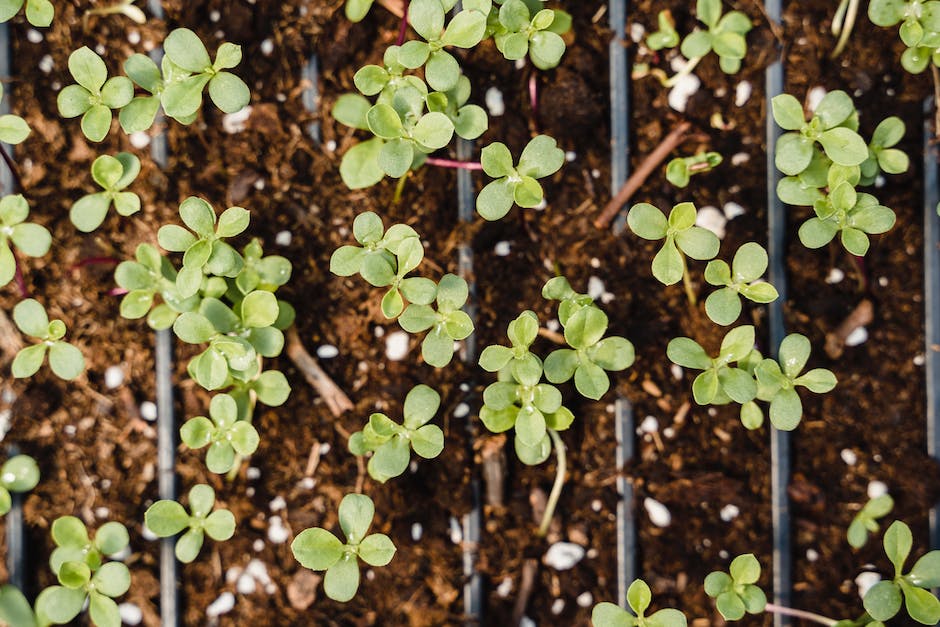
As tiny shoots peek out of the soil (which may take anywhere from two weeks to a couple of months), relocate them to a brighter, cooler location to encourage compact growth.
Voila! With a bit of patience, dedication, and these steps in hand, you’ve set the stage for your rose seeds to grow into gorgeous blooms. Remember, each rose is uniquely different, just like each gardener. Don’t be disheartened if success doesn’t come at once; a true garden hobbyist knows that every setback is a stepping stone to blooming wisdom. Your rose garden awaits! Happy planting!

Owning the Planting Process
Continuing the journey of cultivating your passion, this article shall delve into a foray of dueling earth and seed. Planting rose seeds, quite a fascinating hobby and definitely an intriguing phase in the process of becoming a seasoned rose gardener.
Let’s get started by knowing when exactly we should plant these seeds. In general, rose seeds are best sown in late winter or very early spring, although they can be planted at any time of year. They require a period of stratification or cold treatment before they will germinate. As already mentioned, we can mimic this by making use of our refrigerator.
Of course, all seeds are not the same. Some may show their first leaves within two weeks, while others might take several months. Hence, it’s essential to be patient and regularly check on your seeds.
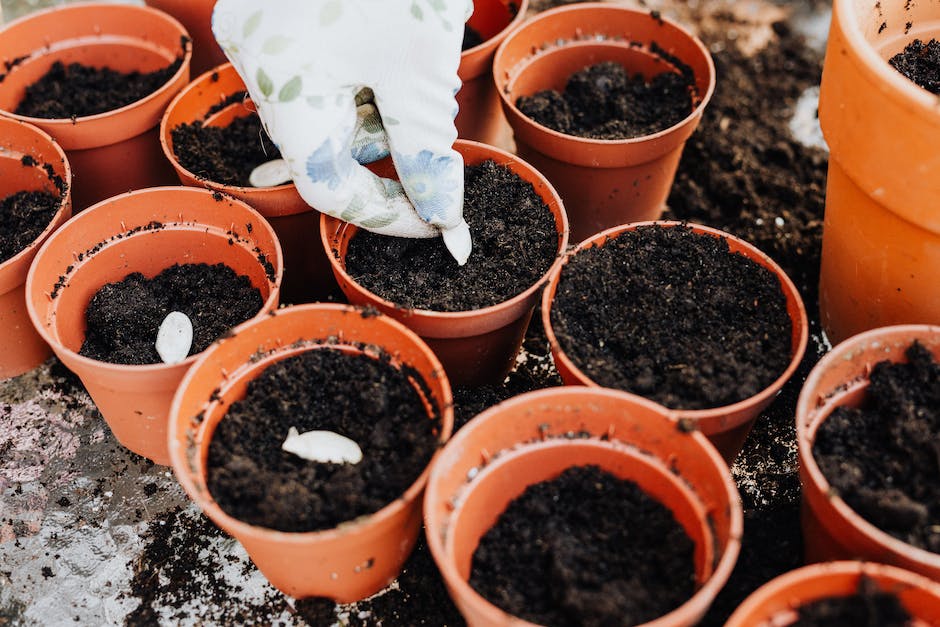
Now, let’s talk about planting depths. Rose seeds should be planted about 1/4-inch deep in a soilless mix. This depth gives them enough cover to protect them yet allows light to penetrate, prompting germination.
Follow this by watering, but not soaking, the soilless mix, ensuring it remains lightly moist but not drenched. Overwatering is a common mistake that must be avoided at all costs. It creates a highly water-logged environment that encourages rot and other disease problems.
To induce quicker germination, put the seed tray in a heated propagator or cover it with plastic wrap to maintain humidity and conserve moisture. Maintain temperatures around 70 to 75 degrees Fahrenheit to provide an optimal environment for the seeds. If steady temperature maintenance proves to be an issue, it might be beneficial to invest in a heat mat with temperature control.
Once started, the seed tray should be placed in a location that receives a generous amount of light. Please note, it’s key to monitor the seedlings, as too much direct sunlight can scorch them, while too little can lead to lanky, weak growth.
Additionally, a crucial tip to share with fellow enthusiasts is this: Once the seedlings display four or five true leaves, it is time to select the most vigorous ones and carefully transplant them into their own pots, filled with general-purpose compost. This is vital knowledge on the journey to develop truly robust rose bushes from mere seeds.
And there you have it! The basic structure and specifics around planting and nurturing rose seeds. As with any journey, the path of cultivating roses seeds is one of joy, trial & error, and immense patience. The result, a garden of replete with fragrant and colorful blooms that’s absolutely worth the wait. Enjoy the process, fellow rose hobbyists. Happy gardening!

Mastery in Seedling Care & Transplantation
Let’s continue onward to the care and transplantation of rose seedlings, a stage that significantly boosts the plant’s survival rate. Proper care not only ensures that the roses grow healthily but it also eliminates common pitfalls encountered during the transplantation process.
It’s exciting when a seedling pokes its head out of the soil, exhibiting the promise of a glorious bloom. You want to watch over this baby bud carefully, ensuring it benefits from the right environment. Seedlings enjoy a steady humidity level. A plastic humidity dome over the seed tray can help maintain this environment. Yet, be mindful of overheating. A few air holes in the dome can provide necessary ventilation.
Once the seedlings have unfolded their first pair of true leaves, also known as the second pair that appears, it’s feeding time. A half-strength water-soluble fertilizer every second or third watering will suffice, promoting strong, vigorous growth.
It’s important to keep a close eye on the rose seedlings. Observe their color, growth pattern, and overall vitality. As signs of strong growth emerge, like a thickened stem and dense leaf growth, it’s the signal the seedlings are ready for transplantation. Generally, this happens around six weeks from germination, although it could take longer, depending on the rose variety and growing conditions.
The art of transplantation is a mix of precision, delicacy, and a whole lot of love for your roses. Choose small, 3-inch pots that have adequate drainage. Also, keep ready a light, well-draining potting mix, preferably a blend of peat moss, vermiculite, and perlite. Transplant by carefully lifting the seedling by its leaves, never the stem, as it’s very fragile. Create a small hole in the fresh mix, delicately place the seedling in, and gently firm the soil near the stem. Remember to water in well after the transplant.
Post transplantation, continue to scrutinize their progress. Feed them at half-strength until they establish in their new homes. Allowing ‘hardening off’ is paramount as well. This simply means that for the first week after moving plants outdoors, they should be placed in a sheltered location away from strong wind and direct sunlight to avoid shock.
Granted, caring for rose seedlings is an ocean of details. But remember, this journey of growing roses from seeds is a beautiful interplay of science and passion. The sweet smell of success is well worth the wait and hard work when you finally get to breathe in the heavenly fragrance of your very own rose blooms. Cherish the growth. Happy rose gardening to you!

Growing a rose from seed is indeed a delicate art, an art that combines the knowledge of seed preparation, planting techniques, and seedling care. It is in this sophisticated interplay that we bring to life the stunning beauty of a rose from a dormant seed. Understanding the process of stratification, the influence of various environmental factors in the planting process, and the art of seedling care and transplantation are all crucial in this intricate journey. As we marvel at the bloom of our rose, we realize that every tiny detail, every decision, and every action has contributed to this moment of beauty and life. The journey may seem involved, but the reward is immeasurable – a splendid rose that is a testament to your devotion, patience, and newfound mastery in growing roses from seeds.


