Guide to Growing an Orange Tree from a Seed

Growing an orange tree from a seed can be an immensely rewarding endeavor—a literal fruit of your labors. Whether you’re nurturing one for its beauty, for the harvest, or simply for the joy of the project, the process requires a good understanding of the orange seed germination, the care needed for a young orange tree, and the specifics about when and how to transplant the tree. This guide is designed to walk you through each step of this journey.
Understanding the Orange Seed Germination Process
The Joy of Germinating An Orange Seed: A Step-By-Step Guide
Citrus aficionados, rejoice! The magic of seeing a single seed transform into a vibrant orange tree is an art. Growers, both seasoned and budding, can take part in this mesmerizing chain of life, right at the comfort of their homes. Let’s delve right into the process.
The first step in this journey is acquiring the seed, right from the heart of the fruit we so passionately adore – the orange itself. However, it isn’t as simple as slicing open any store-bought orange and scooping out a seed. The key here is to get the brightest, most organically grown oranges possible, the integrity of their seeds unharmed by chemical pesticides or genetic modification.
The germination process steps into the game now, commencing with a good soaking of the seeds. Soak them for about 24 hours in a small dish of lukewarm water. The water rehydrates the seeds, stimulating them to grow while cleaning off any excess, clingy pulp.
After soaking, it’s essential to moisten up a paper towel, place the seeds onto it, and fold it. Ensure that the towel remains moist but not dripping wet. The towel then needs to go into a ziplock bag and is ready to be stored in a warm, dark place. Temperature check? Between 70 -75°F (21-24°C) should do the trick!
The wait might be an exercise in patience, wrestling with the anticipation to finally see the root sprout. After about 7-14 days, the appearance of s roots marks the time to transplant the germinated seed to a pot of soil. Choose a pot with plenty of drainage holes to prevent overwatering and water stagnation.
A light, well-draining potting mix fortified with slow-release citrus fertilizer providing plenty of nutrients is the choice of champions here. Bury the seed about half an inch deep with the root-tip pointing downwards. Cover up the hole and gently moisten the soil with a water sprayer. Do not drown the seedling; it needs moist soil, not waterlogged soil!
Place your pot in a sunny, well-ventilated space. Southern exposure works best because who doesn’t love a spot in the sun, right? Ensure to keep the soil consistently moist until the seedling emerges, for around two weeks.
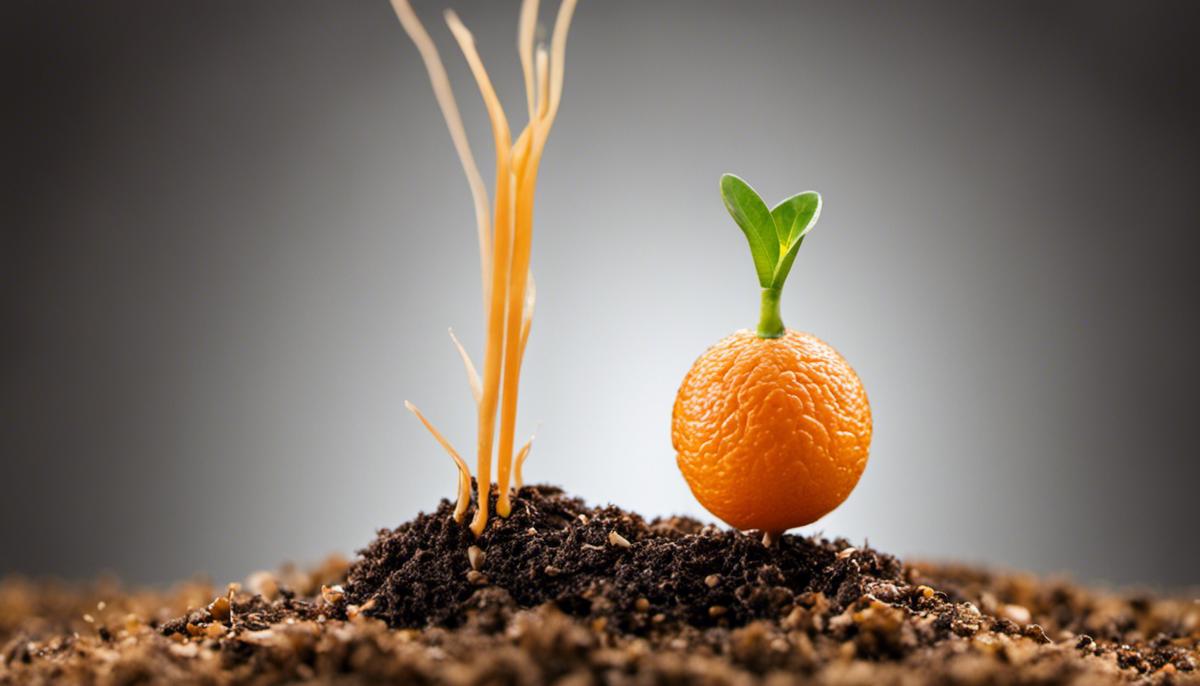
Watching green sprouts peek out of the soil could be the best reward. As the orange tree sprout grows, maintain its environment with warm temperatures, sunlight, and moisture alongside a regular dose of citrus fertilizer, preferably every 2-3 months.
As the months turn into years, it is necessary to transplant your growing orange tree into larger pots or your backyard, depending on the tree’s growth and your personal preference.
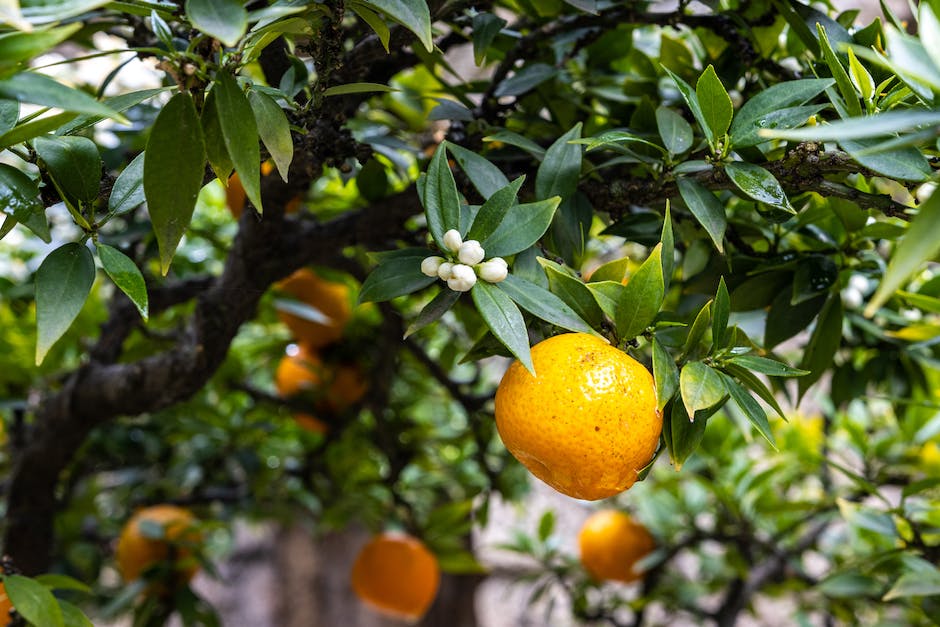
Gleaming, ripened oranges, bursting with zesty freshness, grown at home; imagine that! The joy of transforming a single orange seed into a full-grown tree producing its fruits is a reward undeniable. This germination process is just the beginning of an exhilarating journey into the life of your very own beautiful orange tree.

Caring for a Young Orange Tree
Caring for a young orange tree doesn’t just end with germination or transplantation. Your new citrus buddy will need consistent attention and care as it matures. Let’s delve further into the steps needed to ensure your young orange tree flourishes.
One of the crucial steps after having transplanted your orange tree is protecting it from pests and diseases. Young orange trees are particularly susceptible to attack from insects like aphids, scales, and mites, along with diseases such as root rot and fruit mold. Regularly inspect the leaves, branches, and fruit of your tree for signs of these invaders. Managing pests can be as simple as blasting them off with a high-pressure spray from a hose — although sometimes you might need to bring in the big guns, like an insecticidal soap or oil. Disease treatment may involve pruning the affected areas or using a fungicide. Remember, prevention is always the best method of control. Keep your tree healthy, and it will be naturally more resistant to pests and diseases.
The next key to your young orange tree’s livelihood rests in maintaining its growing environment. Proper air circulation is necessary to prevent the development of diseases. If you’ve planted your tree in a pot, consider incorporating a small fan into your indoor setup. Meanwhile, for backyard trees, ensure they’re not fenced in too closely by other plants or objects that might stunt air movement.
Pruning is another major care factor. As your tree grows, it will need to be shaped to encourage healthier growth and higher fruit yield. Pruning should ideally start when the tree is young, typically during the dormant period in late winter or early spring. Carefully cut off any dead branches or ones growing inwards towards the trunk.
As the young tree matures, it’s essential to keep it hydrated, especially during the dry season, but be careful not to over-water. Excessive moisture can leave your orange tree vulnerable to root rot. In the heat of summer, once or twice weekly deep-watering is often enough.
Supplemental feeding with a suitable citrus fertilizer is also vital for the tree’s health and fruit production. Nitrogen is a particularly crucial nutrient for orange trees. Typically, a young tree requires less fertilizer; increase the supply as the tree matures and starts fruiting more intensively.
In conclusion, nurturing a young orange tree to its maximum potential isn’t just a hobby—it’s an art. With consistent efforts in pest control, maintaining an optimum growth environment, pruning, watering, and fertilizing, the orange tree will surely reward you with succulent, juicy fruits. So, roll up those sleeves and get busy with your orange tree – the rewards will be worth your labor of love.

Transplanting an Orange Tree
Now, for those who have tangoed with the rich and rewarding process of nurturing an orange tree from a tiny seed all the way to fruit-bearing maturity, the topic at hand is quite crucial: When and how should one go about transplanting a grown orange tree?
This action is no small task, indeed, but with some knowledge and proper precautions, it can be done in a manner that ensures the continued thriving of your orange tree.
The “when” part of this process relies on a few factors. Primarily, you want to avoid transplanting during periods of active growth, where the loss of roots could harm growth or fruit production. Therefore, it is generally recommended to transplant during the dormant period, typically in the late winter or early spring before your tree starts producing new shoots.
However, observing the climate of your locality can also play a significant part in determining the right time. Transplanting in sweltering heat can stress the tree, so picking a cooler, overcast day might be the safest bet when moving a mature orange tree.
Now onto the “how.” Transplanting a grown orange tree involves a step-by-step procedure to ensure your tree retains its health through the process.
- Preparation: Firstly, the new location should be ready. Dig a hole that’s twice the width of the tree’s root ball and the same depth. This pre-dug hole ensures the tree is not left exposed for a long period.
- Root Ball: Using a sharp spade or shovel, you’ll outline your tree’s root area, then start digging around the tree, making sure to keep a generous root ball. It’s essential to preserve as many roots as possible, so dig deep and wide.
- Moving the Tree: Once the tree has been lifted from the ground, you should move it to the pre-dug hole quickly to minimize root exposure. A wheelbarrow or tarp can be useful to transport the tree without damage.
- Transplanting: Plant the tree in the center of your new hole, making sure the top of the root ball is level with the soil surface. Fill around the tree with the excavated soil, pressing down gently to eliminate air pockets.
- Aftercare: Water the tree thoroughly after transplanting, ensuring the entire root ball and surrounding soil are thoroughly moist. Regular watering should continue for a few weeks to assist with recovery.
Additionally, the use of transplanting supplements like root growth stimulants can aid in faster root development in their new home. Lastly, a layer of mulch can be added around the base of the tree to conserve moisture and suppress weed competition.
Transplanting a grown orange tree could initially seem daunting, but armed with knowledge and procedure, it’s absolutely manageable and rewarding. With careful handling, your tree will ensure that the enviable satisfaction of biting into a homegrown orange is but a sunny afternoon away.

In essence, growing an orange tree from a seed is a deep dive into patience and care. The minute details of mother nature’s artistry unfold as you traverse through the journey of understanding germination, caring for a young tree and successfully transplanting it. Your maiden orange fruit won’t just be a result of fruitful labor, but also a symbol of your comprehension of this organic process. Remember that the key lies not in rushing through the stages, but in patiently understanding and responding to the needs of your growing tree. Happy gardening!


